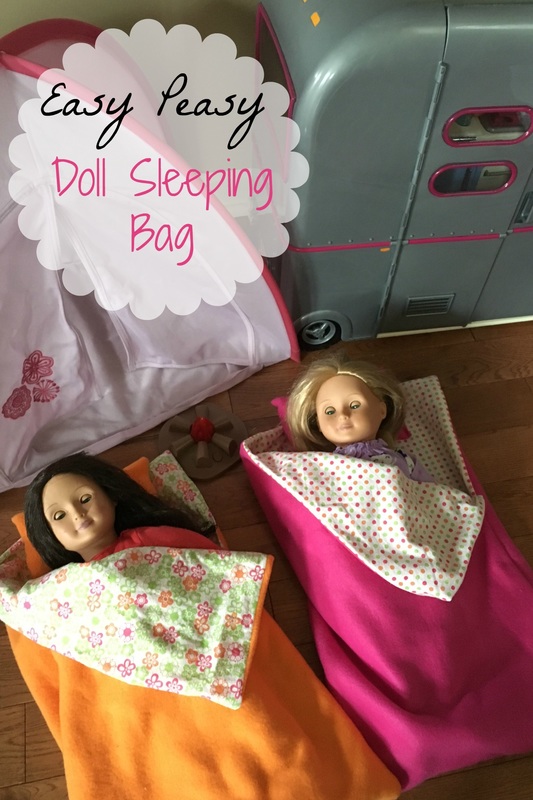
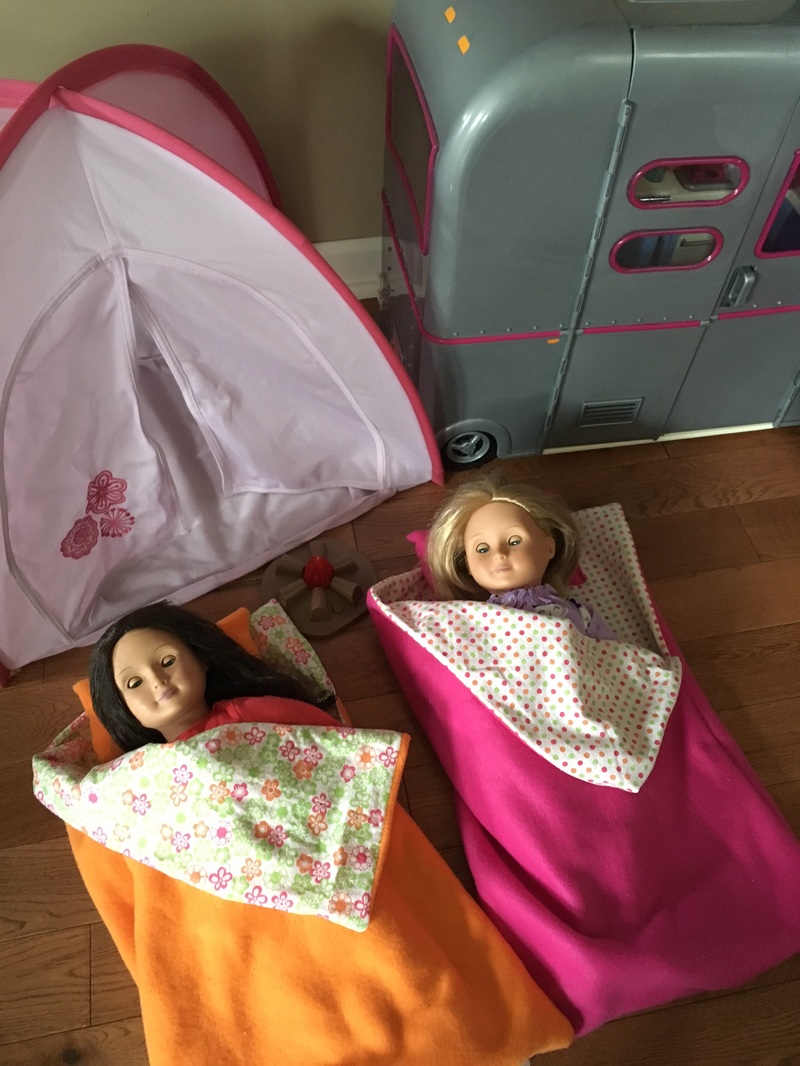
My four year old daughter LOVES her dolls. They are the sisters she never had (and never will have, much to her dismay). The accessories are slowly taking over our house, soon these girls will need a house of their own!
Over the past year she has acquired the camper and tent, among many other things, but if her dolls go on a camping adventure there is no where for the both of them to sleep. What fun is that? They are also out of luck if my daughter wants to have a sleepover in the playroom, unless we drag the sturdy homemade wooden bunk beds out there. It was decided that these dolls needed their own sleeping bags! I decided to keep the construction plain and simple. I'm sure you can use your imagination and fancy them up, but considering I had a 4 year old assistant to work with, plain and simple was perfect. These are perfect for the beginning sewer to make- old or young! If you can sew a straight line, you can make this :) This is my first attempt at writing a sewing tutorial, so if you have questions or need clarification, drop a comment below and I'll help you out. 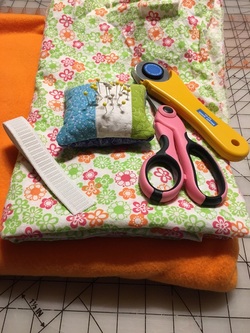
Materials
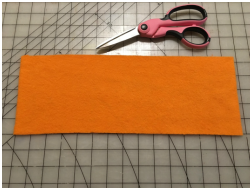
What to do... First step- cut out the material. You will need a 21" x 27" rectangle cut out of both your outer and inner fabric. If you don't have a large cutting mat, you may want to make a pattern on a large piece of butcher or freezer paper first, then use that as a template for cutting out your fabric. 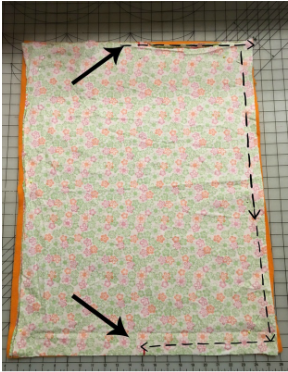
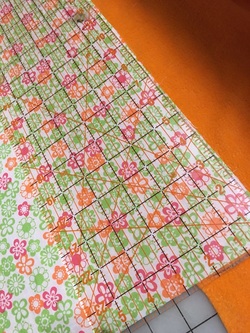
Next, place your fabric right sides, or "pretty sides", together and pin to attach them. Make a mark at the halfway point on the SHORT end of the rectangle. An easy way to do this is to fold the rectangle in half so that the long sides meet, then use a washable fabric marker (or a Crayola if you're fancy like me!) to mark the crease on each side. You are then going to sew from one mark, around the edge to the mark on the other side. So you will be sewing half of the rectangle.
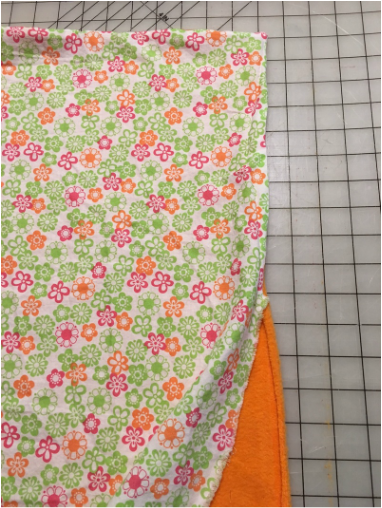
Trim the corners and any seams over 1/4", making sure not to cut through your stitches! Cut a small notch at your halfway marks. Turn the bag inside out. Use a chopstick or unsharpened pencil to poke the corners out. The sewn edge is now the top of the sleeping bag (where the doll's head will be).
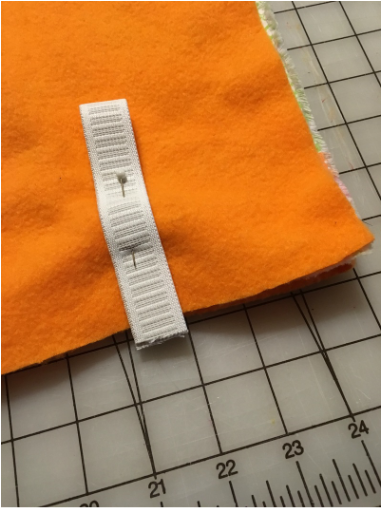
If you are using elastic or ribbon to be able to roll up and secure the sleeping bag, now is the time to get that in place.
Fold the sleeping bag in half with the outer fabric on the outside. Fold your elastic or ribbon in half. Measure 3 inches in from the end and place the folded edge of elastic or ribbon hanging OUTSIDE the edge of the sleeping bag, so that the long ends are laying flat on the top of the bag. Pin in place through the top 2 layers, not all the way through. If you don't have elastic on hand, or aren't comfortable sewing this step, you can always use a hair rubber band to slip over the finished project ;)
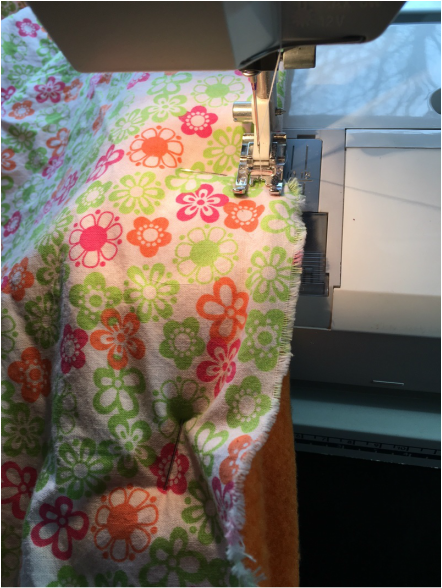
Now open your rectangle back up, then fold it in half with the outer fabrics touching (so the right side of your inner fabric is showing). Pin it in place and sew along the raw edge of the rectangle (the other half from mark to mark that has not been sewn yet). Make sure to back stitch at the beginning and end to avoid it coming undone.

Once again, trim the corners and excessive seams, which may be a lot if you had a 4 year old helping,,, Then turn the bag right side out and TADA! You have a sleeping bag! You can at this time top stitch around the entire thing, but we were far too impatient for that today. 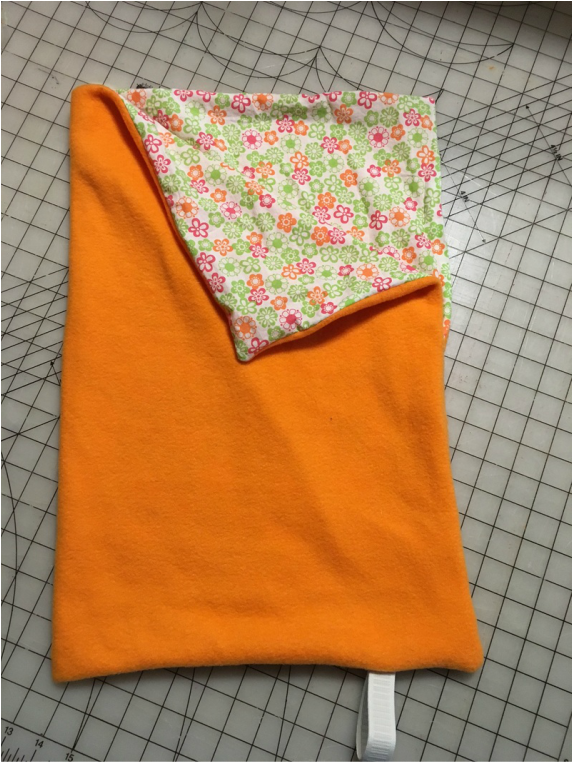
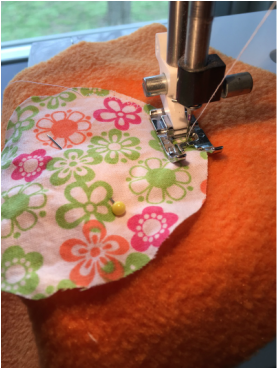
You can cut out a shape from a scrap of the inner fabric if you really want to jazz it up. Fold the rectangle in half (short ends together) to figure out placement of your design, unfold the rectangle, pin the shape in place, and zig zag stitch to secure it on. 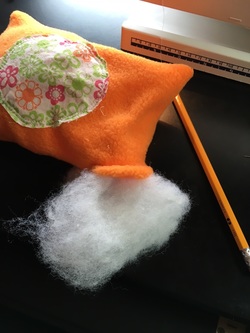
Fold the rectangle in half, short sides matching up with the right sides together (so your design is on the inside if you have one). Sew around the raw edge but LEAVE A TWO INCH GAP. If you sew the whole way, you won't be able to turn it right side out. Trim the edges and seams, making sure not to clip your stitches, then turn the pillow right side out through the 2" opening you left. Use a chopstick or pencil to push the corners out. Stuff the pillow (if you don't have stuffing you can use cut up old t-shirts). Then close the opening by machine or hand stitching it shut.
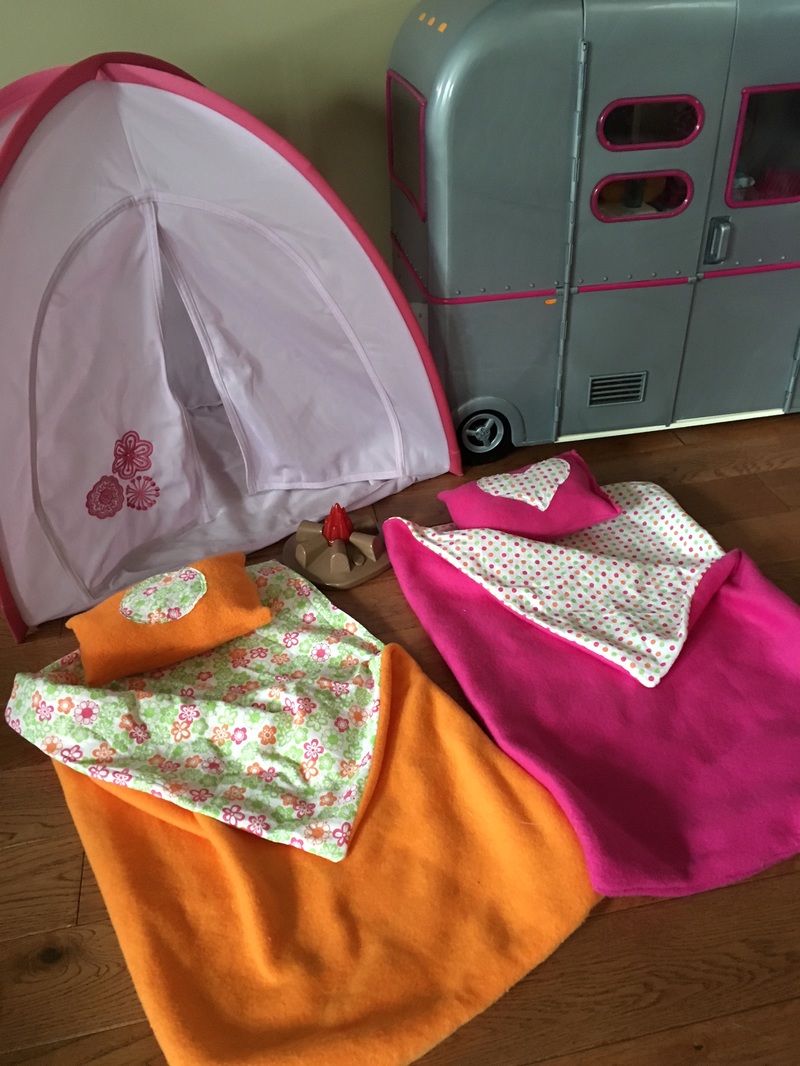
You're done!
To roll them up, fold in half lengthwise, place the pillow at the top, and roll toward the bottom. Secure with the elastic or ribbon, or just use a hair band. Time for the dolls to go camping! 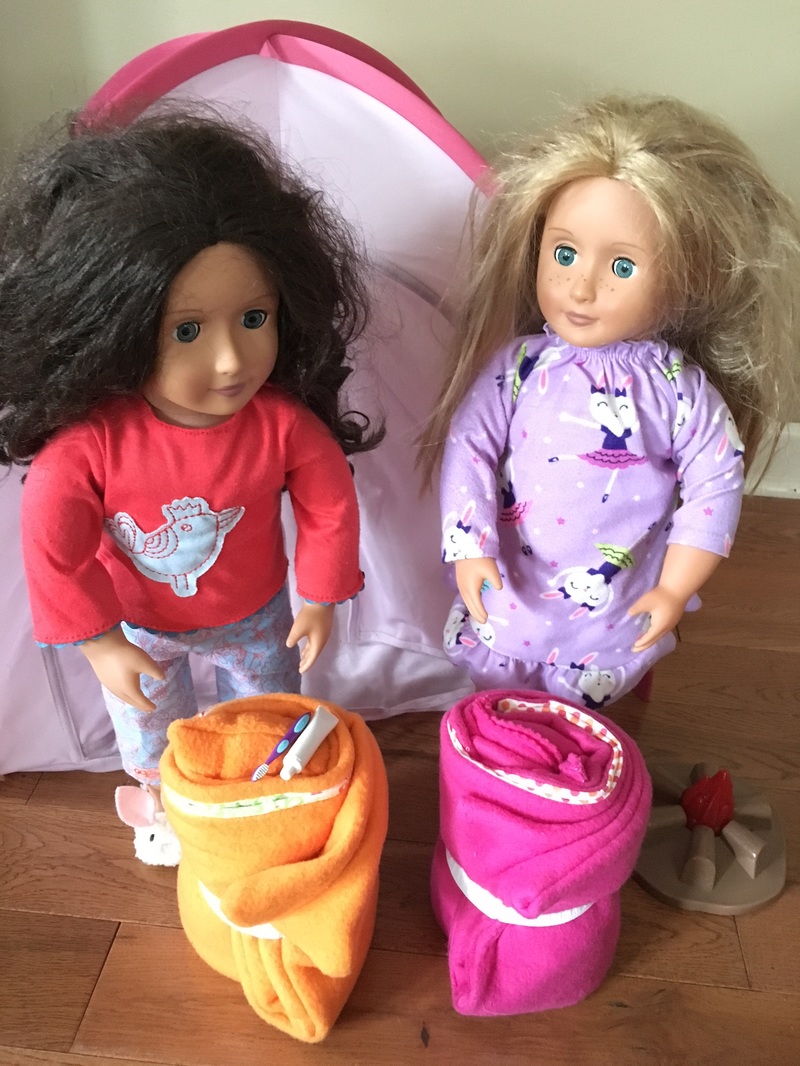
4 Comments
I'm teaching kids sewing camps this Summer and July's theme is sewing for your doll. We used your tutorial today and I have 9 happy girls with 9 cute sleeping bags for their dolls, made by them! Thanks for this :) I posted pics if you'd like to see: http://www.pincutsewstudio.com/blog/2016/7/11/kids-can-sew-doll-sleeping-bags
Kim Brancato
7/15/2016 11:16:04 pm
That's awesome!
Pikachu
12/27/2016 11:53:47 am
This is so cool!! Can't wait to try. Your comment will be posted after it is approved.
Leave a Reply. |
Archives
September 2016
Categories
All
|

 RSS Feed
